This week, we will study civil war photography. Matthew Brady is one of the first photojournalists. He took many pictures during the civil war. . .Most of what we know about what the civil war looked like is due to Matthew Brady. You will complete two tasks this week. 1) You will colorize a civil war era photograph, and 2) you will take a modern version of the photograph starring yourself and/or people you know.
First, let's focus on colorizing old photos.
1. Go to the STUDrive, Handouts, Johnson, and then "civil war photography"
2. Choose a photo
3. Go to Pixlr.com
4. Click on the Butterfly (advanced)
5. Choose "open image from computer"
6. Go and find the civil war photograph you like
7. Your photo should now be open in Pixlr
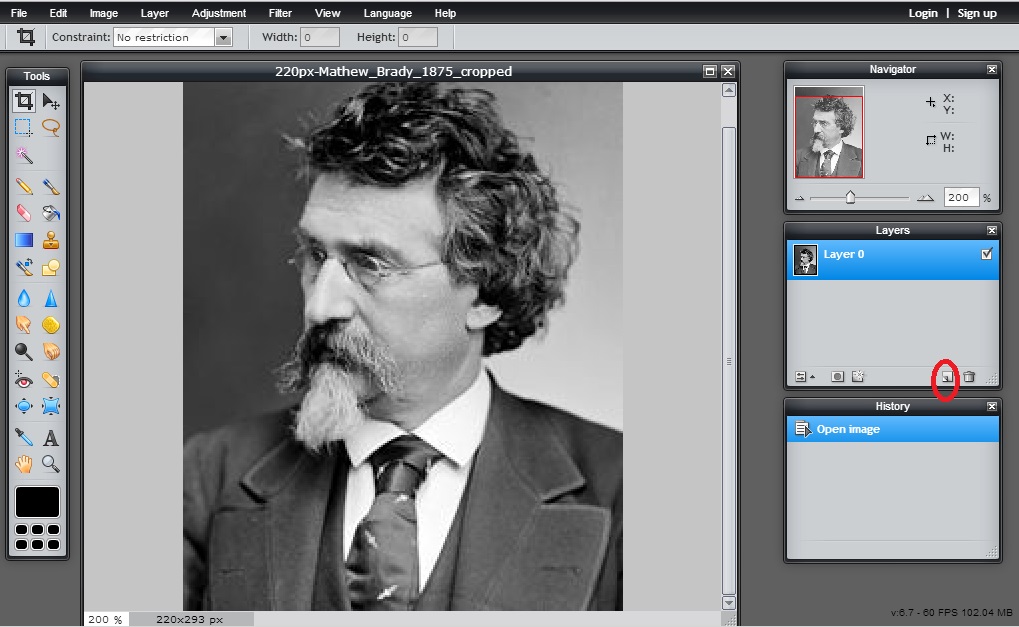
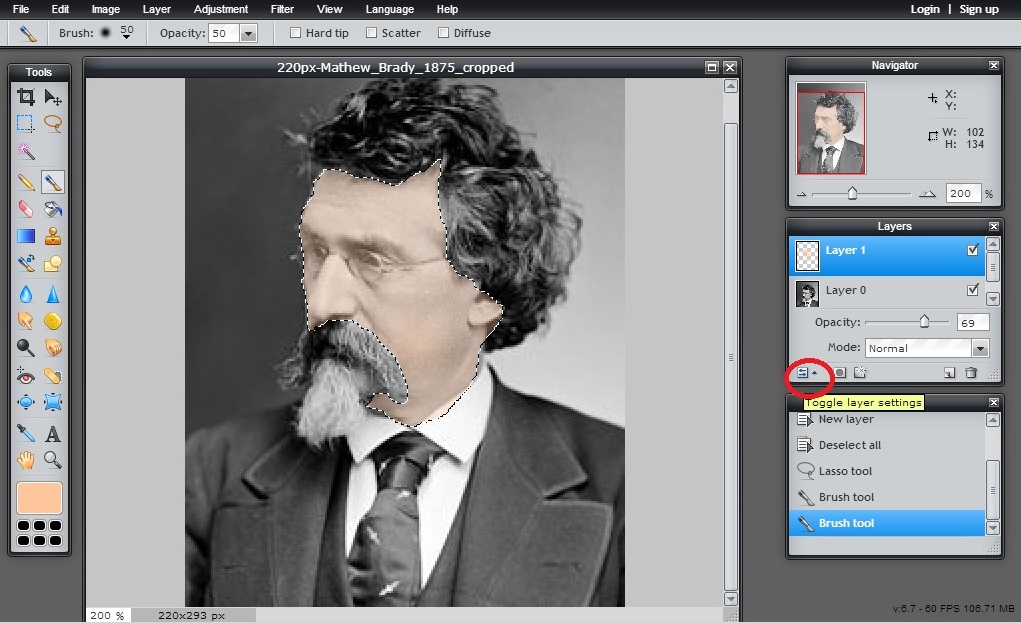
8. Click to create a new layer (see picture below)
First, let's focus on colorizing old photos.
1. Go to the STUDrive, Handouts, Johnson, and then "civil war photography"
2. Choose a photo
3. Go to Pixlr.com
4. Click on the Butterfly (advanced)
5. Choose "open image from computer"
6. Go and find the civil war photograph you like
7. Your photo should now be open in Pixlr
8. Click to create a new layer (see picture below)
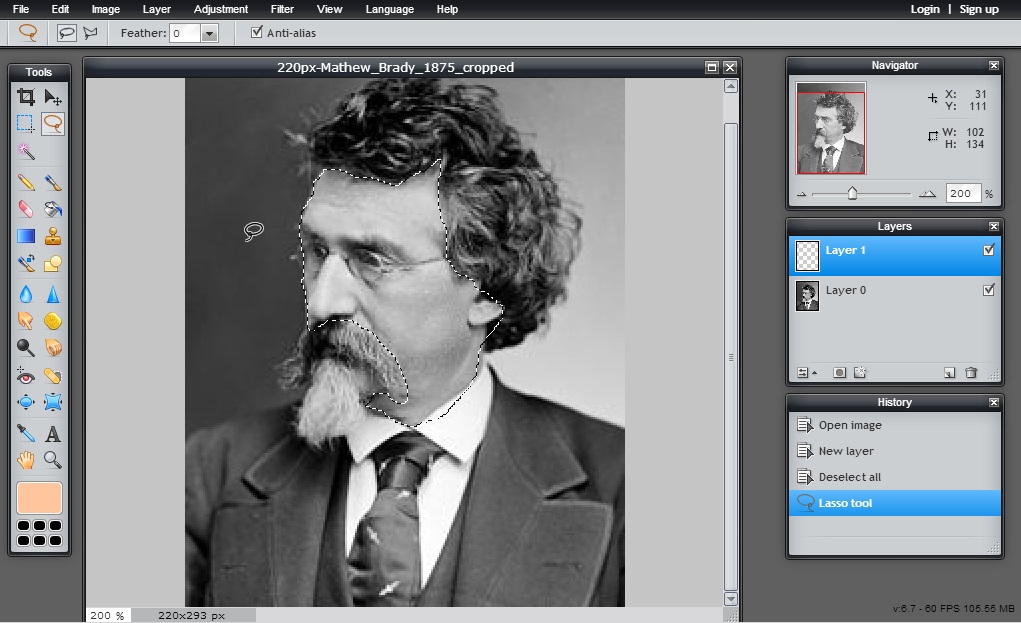
9. Use the magic lasso tool to draw an outline around an area you want to color (see picture below)
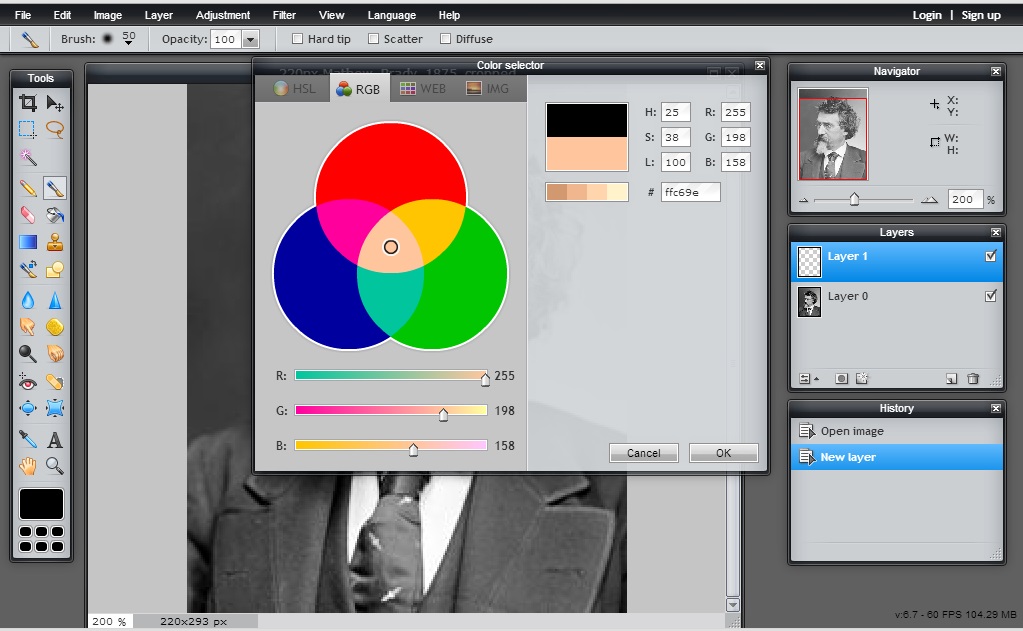
10. Click on the color chooser (in the bottom of the tool box) and choose a color. You probably want the color to be a pastel/pale version of the color you want (see photo below).
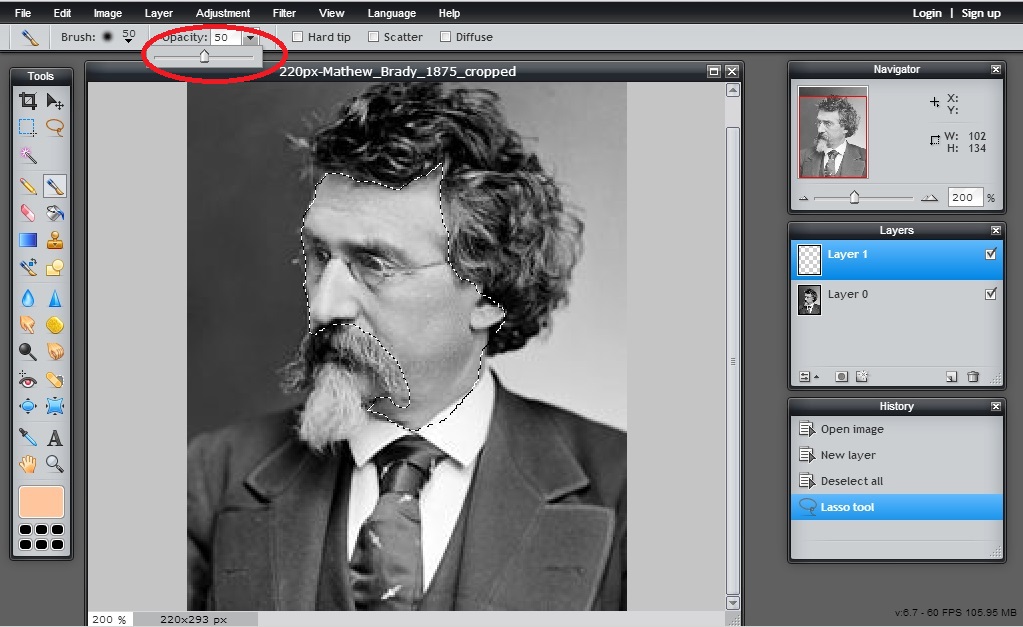
11. Click on the paintbrush tool. Turn the opacity on the paintbrush tool to 50% or lower (see photo below).
12. Use the paintbrush tool and paint in the area you highlighted with the magic lasso tool.
13. If the color is too dark (you can't see enough of the portrait peeking through), you can play with the opacity of the layer (see photo below).
13. If the color is too dark (you can't see enough of the portrait peeking through), you can play with the opacity of the layer (see photo below).
Repeat steps 8-13 until you are finished. SAVE OFTEN. Pixlr likes to crash!!!


 RSS Feed